Hot Stuff – Lesson Overview
Foundation Lessons
These lessons form the core of the Hot Stuff module, and it is recommended that teachers complete at least these first 6 lessons. You can read through the overviews below or you may wish to check through the activity demonstration videos linked on the right to get a quick idea of the concepts and methods involved in this module.
Please see the Getting Started page for information regarding pretests and how to introduce the Hot Stuff module.
Through fun activities, discussion and digital resources, students model the vibration and movement of atoms and molecules in solids and liquids and use marbles and a clear plastic box to model them. Students also explore the melting of familiar solids placed in a hot water bath. They observe what happens and then answer the question: What is heat?
Introduction: Introduce the topic, including providing a topic overview and present the learning intentions using Lesson 1 of the Hot Stuff PowerPoint.
Acting like atoms – Being solid, liquid, or gas: Students stand on a grid and simulate vibration and movement of atoms and molecules by moving back and forth whilst holding their grid position (solid), then mingling while staying close together (liquid) as the teacher “adds heat”, then moving quickly and randomly around, filling the ‘space’, for example the room they are in (gas).
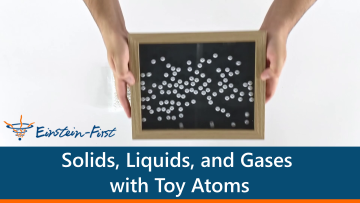
Activity – Modelling solids, liquids, and gases: Working in groups, students use a small box of marbles/beads/polystyrene balls to model a solid, a liquid, and a gas. They can also use digital models to illustrate the differences between solids, liquids, and gases. Students draw each of their models and write a sentence describing each.
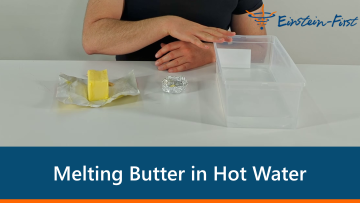
Activity – Melting solids: Working in groups, students construct aluminium foil boats and observe ice melting at room temperature and butter melting in a hot water bath.
Discussion: Ask each group to report observations to the class and explain what happened. Then ask groups to discuss and write their answer to the question: What is heat?
Review and introduce the next lesson: Review all new words and write them on the class Word Wall. In addition, let students know that in the next lesson we will learn that the Sun provides almost all the energy needed to produce heat on Earth.
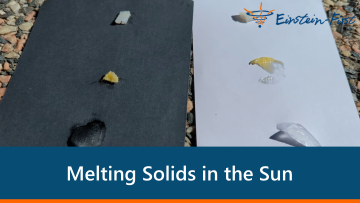
Alternative Activity: Melting solids in the Sun: Working in groups, students place a piece of plastic wrap on the pavement, brick or tile that is in direct sunlight. Then they put a small piece of Copha, butter, and ice on the plastic in the direct sunlight.
Students learn about Einstein’s discovery of photons and phonons through the reading play Hot Light if they have not done so already. Following the play, students join Albert to sing Einstein’s Photons and Phonons song. The lesson finishes by introducing the Nerf Gun analogy for photons and the Slinky Spring analogy to introduce phonons and then referring back to the lesson one role play to show how photons turn into phonons.
Introduction: Review what students learnt about atoms and molecules from the Lesson 1 and the Atom Frenzy module earlier in the year. Introduce the learning intentions using Lesson 2 of the Hot Stuff PowerPoint.
Acting like Einstein – Einstein’s early discoveries: If this was not performed prior to Lesson 1, Students perform a short reading play Hot Light in which Albert Einstein tells students his story of the discovery of photons and phonons and sings the Photons and Phonons song (lyrics). Remind students that in science we use models to explain things that we cannot see.
Activity – Nerf gun photon analogy: Following this, the teacher leads a discussion explaining how we use Nerf guns and Nerf gun bullets to model a light source and photons (the bullets).
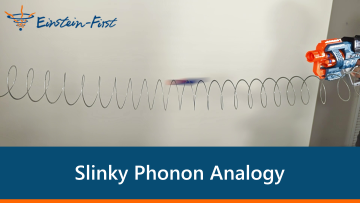
Activity – Slinky spring phonon analogy: Invite two students to hold each end of a ‘slinky spring’ and stretch it a small amount on a smooth floor or desk. Then have another student fire Nerf gun bullets at the centre of the spring. As each bullet collides with the ‘slinky spring’, ask the students holding the end of the spring whether they saw or felt anything. The photons change into phonons which then move rapidly and chaotically through the solid as heat.
Revisit the class activity from lesson 1 – Being solid, liquid or gas: Revisit the kinaesthetic activity but this time have the teacher fire Nerf gun bullets or gently pass soft balls to students. When a ‘photon’ hits one student, that student starts jiggling around to produce phonons. As more students are hit, they also start jiggling. The more photons there are, the more phonons are produced and the more the random, chaotic movement of the water molecules there is, resulting in one student evaporating to show how the liquid state changes into gas.
Review and introduce the next lesson: Review all new words, write them on the class Word Wall and set up a simple evaporation activity for the next lesson by filling two identical glass jars to the same level (about ¾ full), marking the water lever and leaving one with a lid and one without until the next lesson.
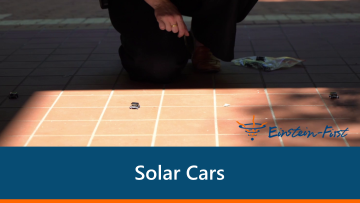
Students move into direct sunlight and put their hands out to face the Sun (weather permitting). They then melt various solids on black and white tiles. They learn that the Sun produces energy, giving light and heat to Earth. Finally they learn that the Sun’s light and heat comes as photons. Some of these photons change into phonons and warm things on Earth.
Introduction: Review Lesson 2 and introduce the Lesson 3 learning intentions using the Hot Stuff PowerPoint.
Activity – Feeling the Sun’s warmth: Students put their hands out in the sunlight and discuss what they feel.
Activity – Heating of different coloured objects: Students place Copha, butter, and ice on black and white tiles out in the sun and see how the colour affects what happens to the substances.
Activity – Where did the water go?: Examine the two jars that had equal amounts of water in each that were set up the previous week. Observe what happened and explain why this happened in terms of heat and water molecules.
Discussion: With the aid of a video, explain that huge temperatures and pressures deep inside the Sun cause hydrogen atoms to join together to make helium atoms, releasing massive amounts of energy. Students are reminded about phonons and introduced to photons in sunlight.
Activity – Revisit the Nerf gun bullet photon analogy: Students review the previous lesson’s activity to reinforce their understanding of photons and how sunlight has ‘bulletiness’ by using a Nerf gun; the Nerf gun bullets represent photons in this analogy.
Review and introduce the next lesson: Review all new words and continue the Word Wall. Inform students that in the next lesson they will learn about how heat travels in solids.
Students recognise heat and measure its effect using a thermometer. They also examine and use different types of thermometers and read temperatures using a standard analogue or digital thermometer in °C (degrees Celsius).
Introduction: Review prior learning about transfer of heat and phonons and introduce the learning intentions using Lesson 4 of the Hot stuff PowerPoint.
Discussion: Review the use of measurement and units from prior science and mathematics, discuss the importance of measurement, and introduce the temperature unit, degrees Celsius (°C).
Demonstration: Show students how to use a digital and a spirit thermometer and demonstrate measuring the temperature of a container of water. (See Reading a thermometer video)
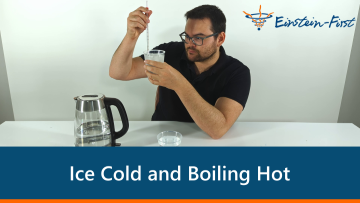
Activity – Ice cold and boiling hot: Working in groups, students measure and record the temperature of an ice/water mix, cold tap water and boiling water under teacher supervision. (See Types of thermometers worksheet, and Measuring temperature worksheet: How hot or cold is it?)
Activity – Cooling down (see above video): Students carry out a simple investigation to record the temperature of water, with added ice cubes, as it cools. They read and record the temperature once each minute for five minutes.
Discussion: Through questioning, review learning about the movement of atoms and molecules and develop the idea that temperature is a measure of how fast atoms and molecules move.
Review and introduce the next lesson: Review the main learning from the lesson and add to the class Word Wall. Inform students that in the next lesson they will learn about a range of ways in which heat can be produced.
Working in groups, students explore the transfer of heat in a metal such as aluminium. They then model heat conduction in solids by play acting vibrating atoms and molecules vibrate and use their understanding of phonons to explain heat transfer by conduction.
Introduction: Review the previous lesson and learning, including the model of atoms and molecules, and introduce the Lesson 5 learning intentions using the Hot Stuff PowerPoint.
Acting like atoms – Modelling heat conduction in solids (Kinaesthetic learning): Students line up in three lines which are next to one another. Students enact the jiggling motion transferring from person to person as heat transfer occurs in atoms. As a class, students watch a short video to reinforce this model.
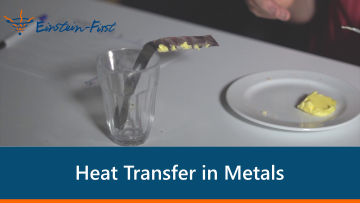
Activity – Heat conduction in a metal: Students time and observe the transfer of heat through metal as it melts butter that is placed in spaced intervals.
Review and introduce the next lesson: Review the main learning from the lesson and add to the class word wall. In addition, let students know that in the next lesson they will learn about how heat can be transferred in liquids and gases.
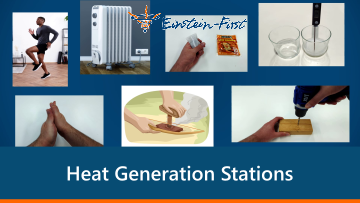
Students explore ways heat can be produced and moved from one object to another. Working in groups, they conduct the activity at each ‘heat generation’ station. These activities are followed up with a discussion about sources of energy and how the energy is changed into heat energy.
Introduction: Review the previous lessons and introduce the learning intentions using Lesson 6 of the Hot Stuff PowerPoint.
Explain that students will explore several examples where heat is created and learn that to produce heat there must be an energy source and some way of changing the energy into heat. Explain that there are several heat generation activities set up. Students will follow the instructions at each one and then complete their worksheet.
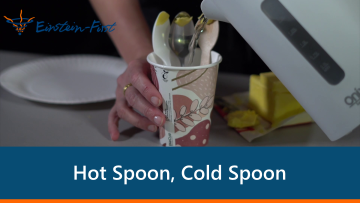
Activities – Heat generation stations: Working in groups, students explore the activity at each heat producing station; the students or a supervising adult at each station will generate a small amount of heat by operating the equipment there. Students record observations and complete their Making heat worksheet.
Discussion: Remind students that temperature is a measure of how fast atoms and molecules move.
Optional Video and/or Home Activity: Students list appliances in their family kitchen that rely on heating or cooling. For each, they identify the energy source and how the energy is changed into heat energy.
Review and introducing lesson 7: Review the main learning from the lesson and add to the class Word Wall. In addition, let students know that in the next lesson they will learn about insulation and rates of cooling of warm objects with different coverings.
Extension Lessons
These lessons are optional extension lessons which explore the concept of insulation and involve an associated STEM extension lesson in which students design and build a pizza box solar oven.
Students learn about insulation. They then design and conduct a ‘fair’ investigation of the rates of cooling of warm objects with different coverings and use scientific understandings and language to explain different rates of heat transfer. In addition, there is an optional discussion with links to Biology and an extension science investigation.
Introduction: Explain that in this lesson students will learn about insulation and insulators and how we can help warm things stay warm and cold things stay cold. Introduce the learning intentions for this lesson using Lesson 7 of the Hot Stuff PowerPoint.
Acting like atoms – Modelling heat conduction in solids with insulation: Students model being a solid and how heat energy is transferred along the atoms and molecules by phonons; they discover what happens when insulation (a gap in the lines) is present.
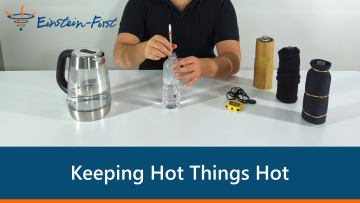
Science investigation – Planning and discussion: The teacher leads the class in the design of an investigation to determine the rate of cooling of bottles of warm water with different coverings. (See the Keeping hot things hot investigation planning sheet)
Activity – Keeping things warm: Students work in groups to carry out the investigation and complete the investigation results sheet.
Discussion: Groups give feedback to the class about the effect of the different insulating coverings on the bottles and explain this using their knowledge of phonons and insulation.
Review: Review the main learning from the lesson and add to the class word wall.
Working in groups, students design and build a pizza box solar oven, which they test out in a separate lesson. They could also then document their work – an evaluation of how well their oven worked – in a poster, PowerPoint or other presentation.
Introduction: Inform students that they will work in groups to build a solar oven from a pizza box and introduce the learning intentions of this lesson using Lesson 8 of the Hot Stuff PowerPoint. Remind students of the design process they are familiar with.
Discussion: Brief review of the Sun, photons, phonons, and insulation as applied to solar ovens
Group Activity: Pizza box oven
- Part 1 – Student teams design their pizza box oven: Students research pizza box solar oven designs on the internet. They explain the scientific principles on which the solar oven relies and design their solar oven
- Part 2 – Student teams develop their plan: Students plan how they should build it. They draw their plan and ensure they understand the functions of the different parts and the individual tasks assigned to each member
- Part 3 – Student teams build their pizza box oven: Students will then test out the solar oven in the Associated Extension Lesson of the Hot Stuff topic
Presentation: Each group should document what they did, including an evaluation of the success of their design, as a poster display, PowerPoint, or other presentation.
This lesson requires prior building of model solar ovens in associated STEM lessons. Working in groups, students use their pizza box solar oven to cook something simple (egg, cookie etc). They then explain how it works using their knowledge from this module and evaluate their oven’s design.
Introduction: Review previous learning and introduce the learning intentions using the end of Lesson 8 of the Hot Stuff PowerPoint.
Activity: Working in their groups, students use their pizza box solar oven to cook something simple, for example an egg or a cookie.
Evaluation of solar oven and discussion: Through questioning and discussion, students evaluate the designs of the solar ovens.
Conclusion: Inform students that in the next lesson they will answer questions about what they have learnt about heat and also about whether they liked the way it was taught to them.

